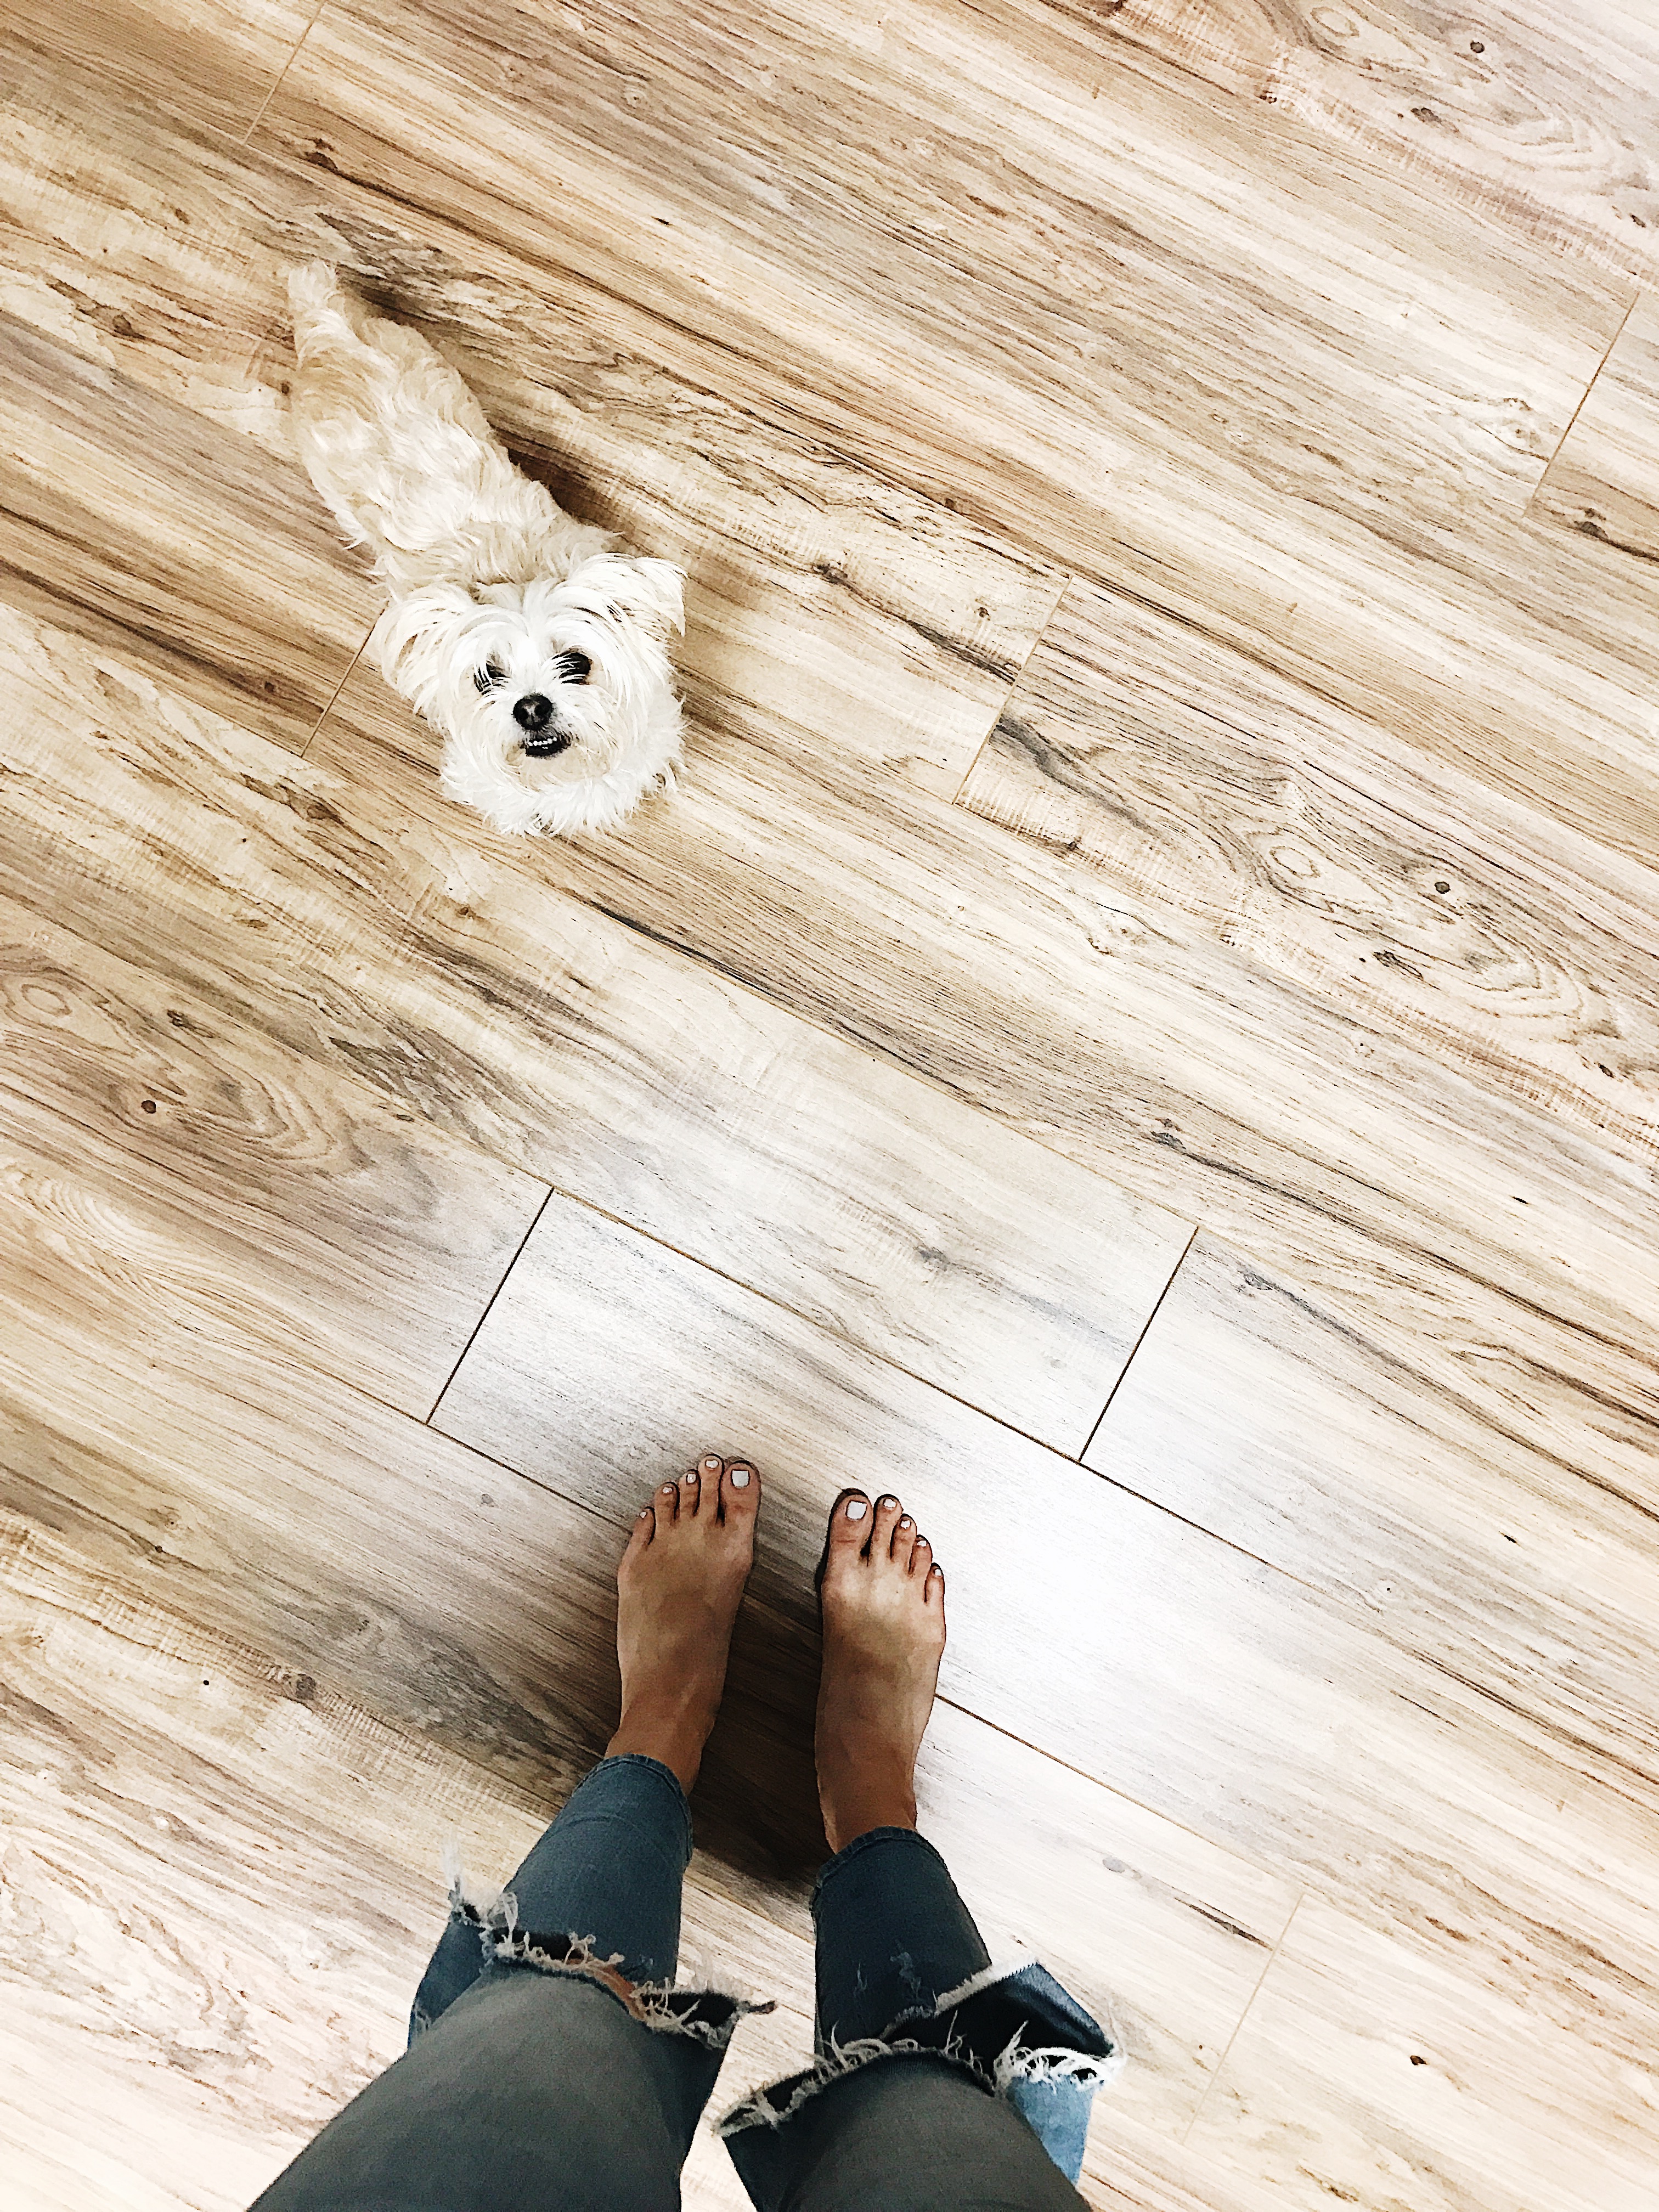
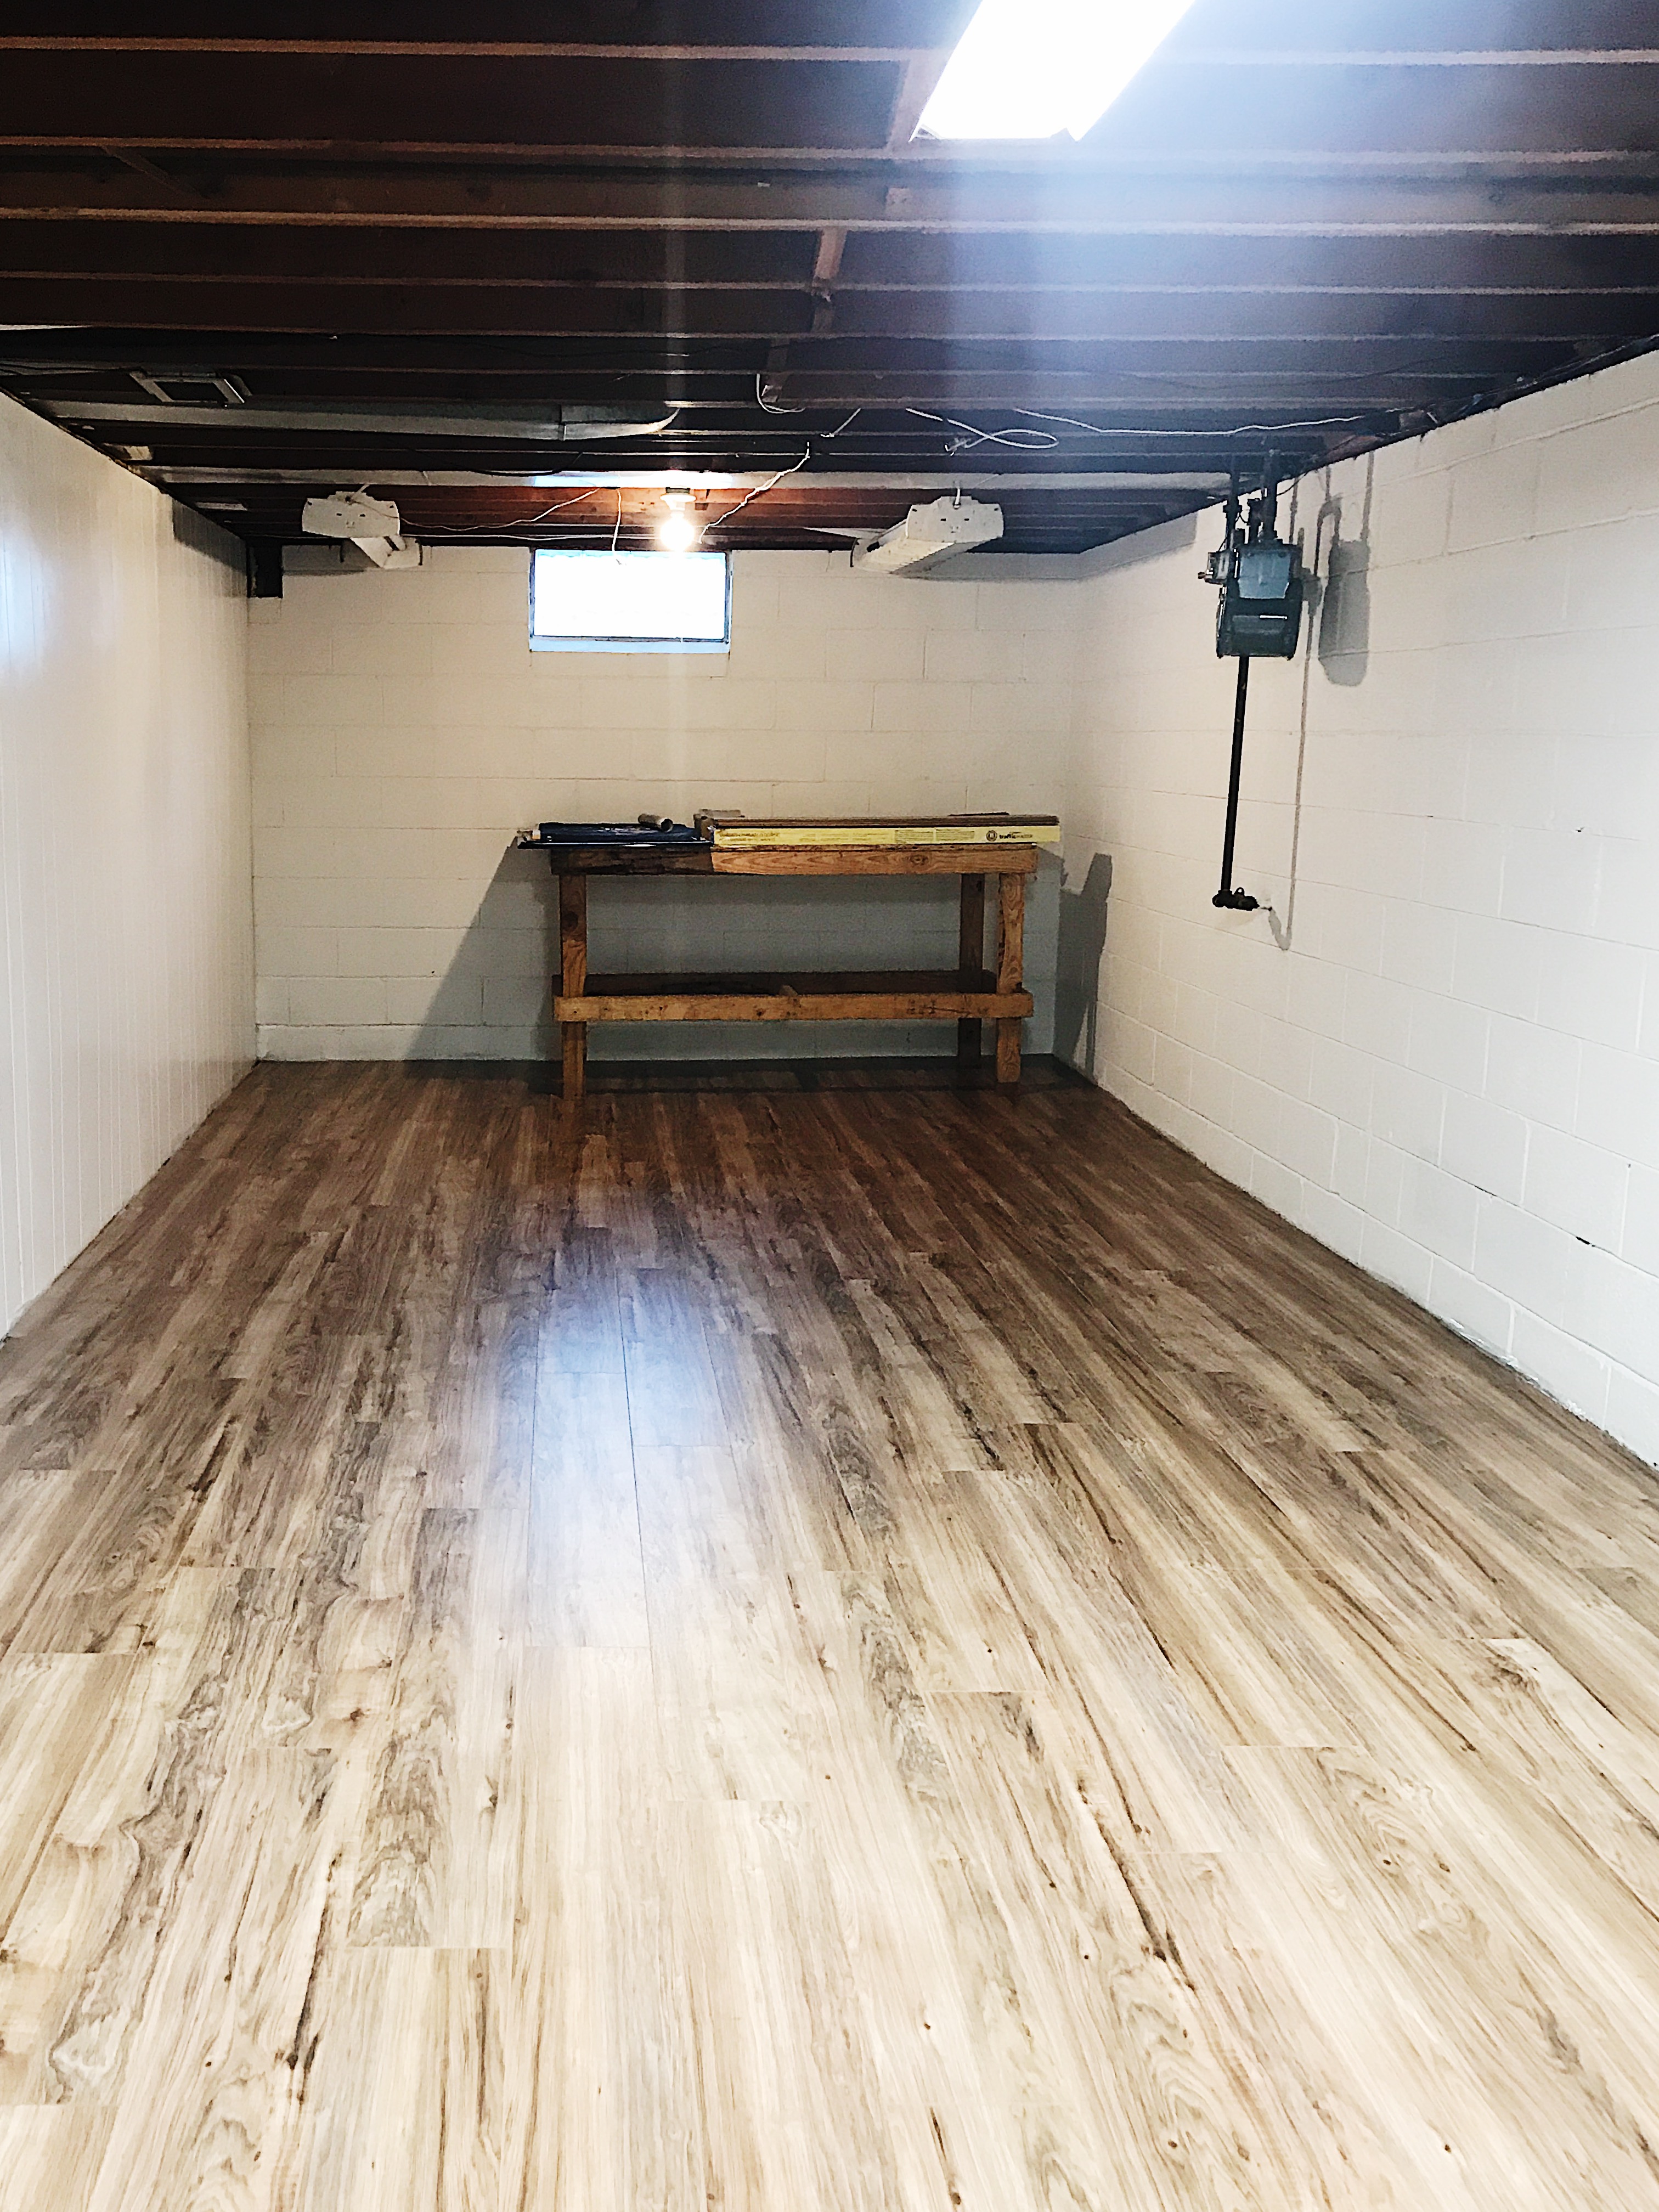
Well, guys, I am SO stoked to be writing this. We finally redid our floors in our basement as you can see in these photos, they’re not the prettiest images but I’m really excited to be sharing this entire process with you all.
Our goal is to shiplap the entire basement and yes, DIY it. There this shiplap that seems a bit easier than putting plywood together, I dunno that really interests us! We’ve watched a few videos and sort of think we could survive the process, I mean we survived the floors!
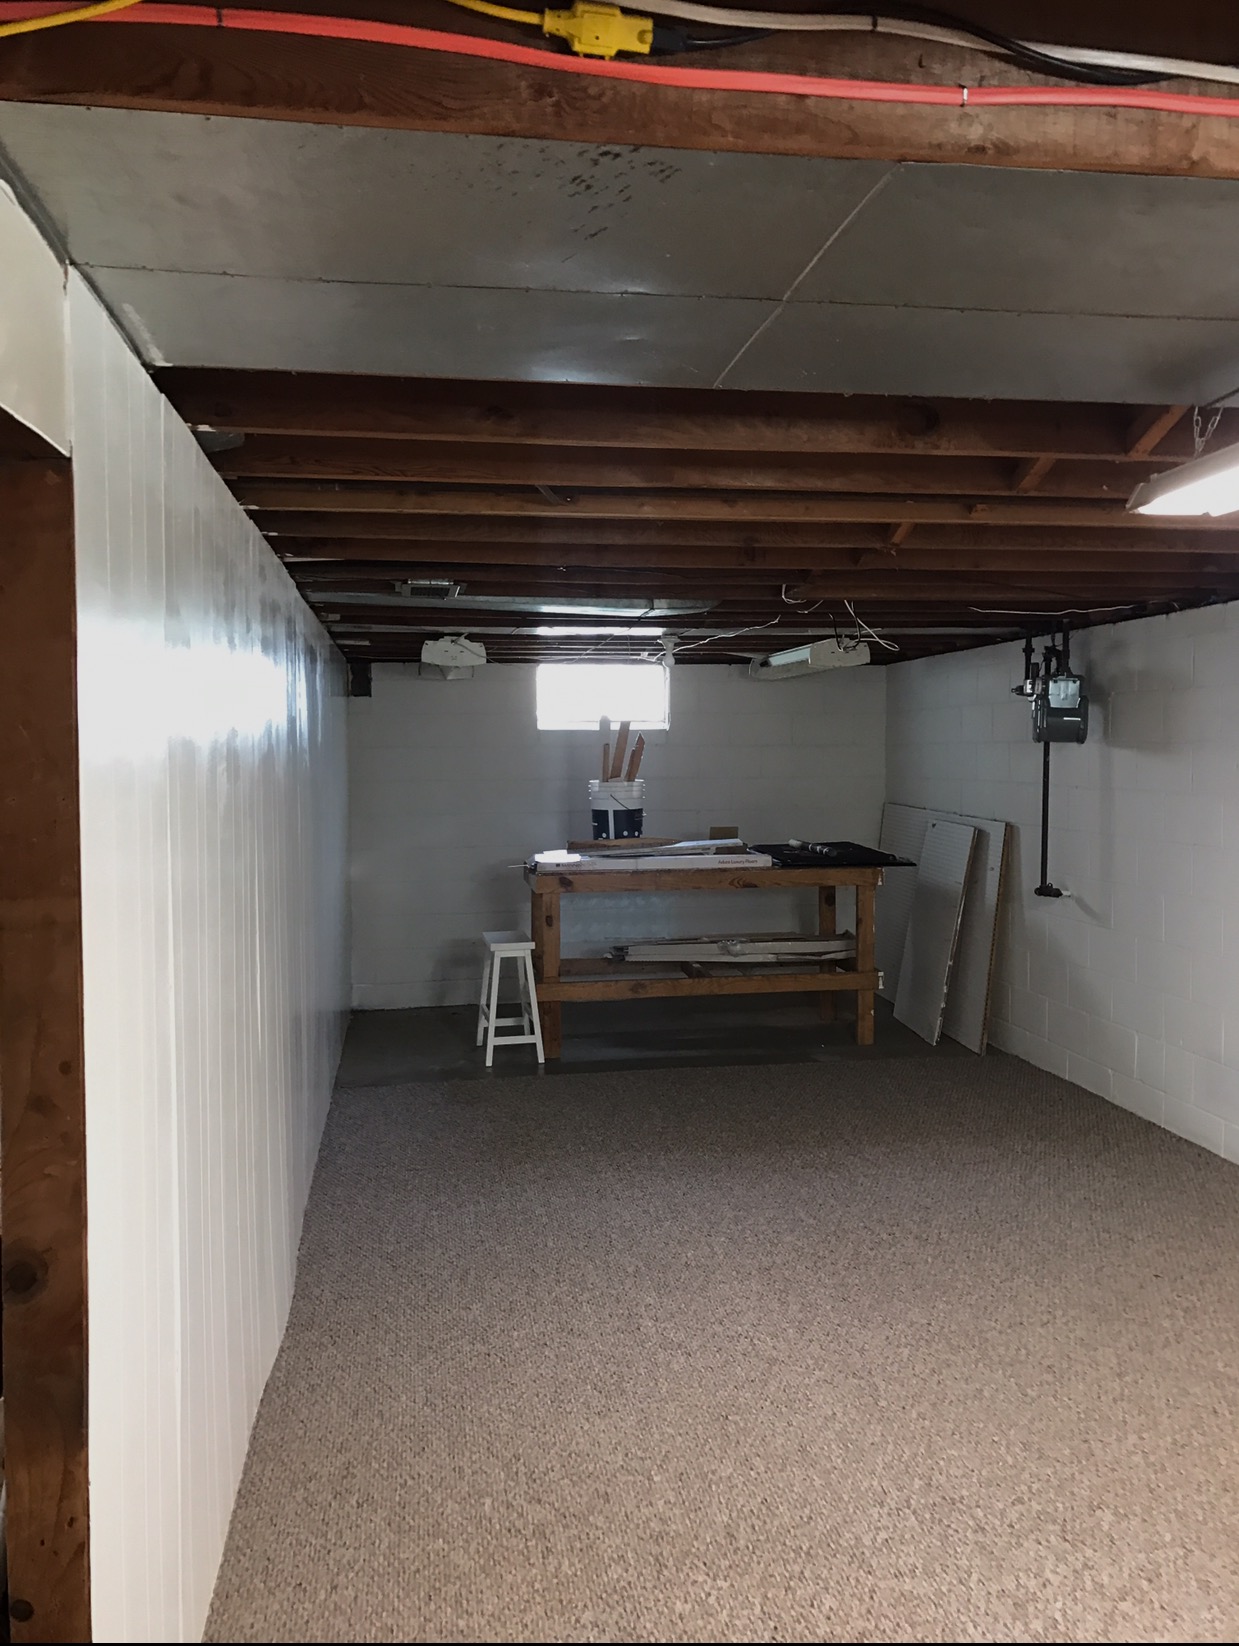
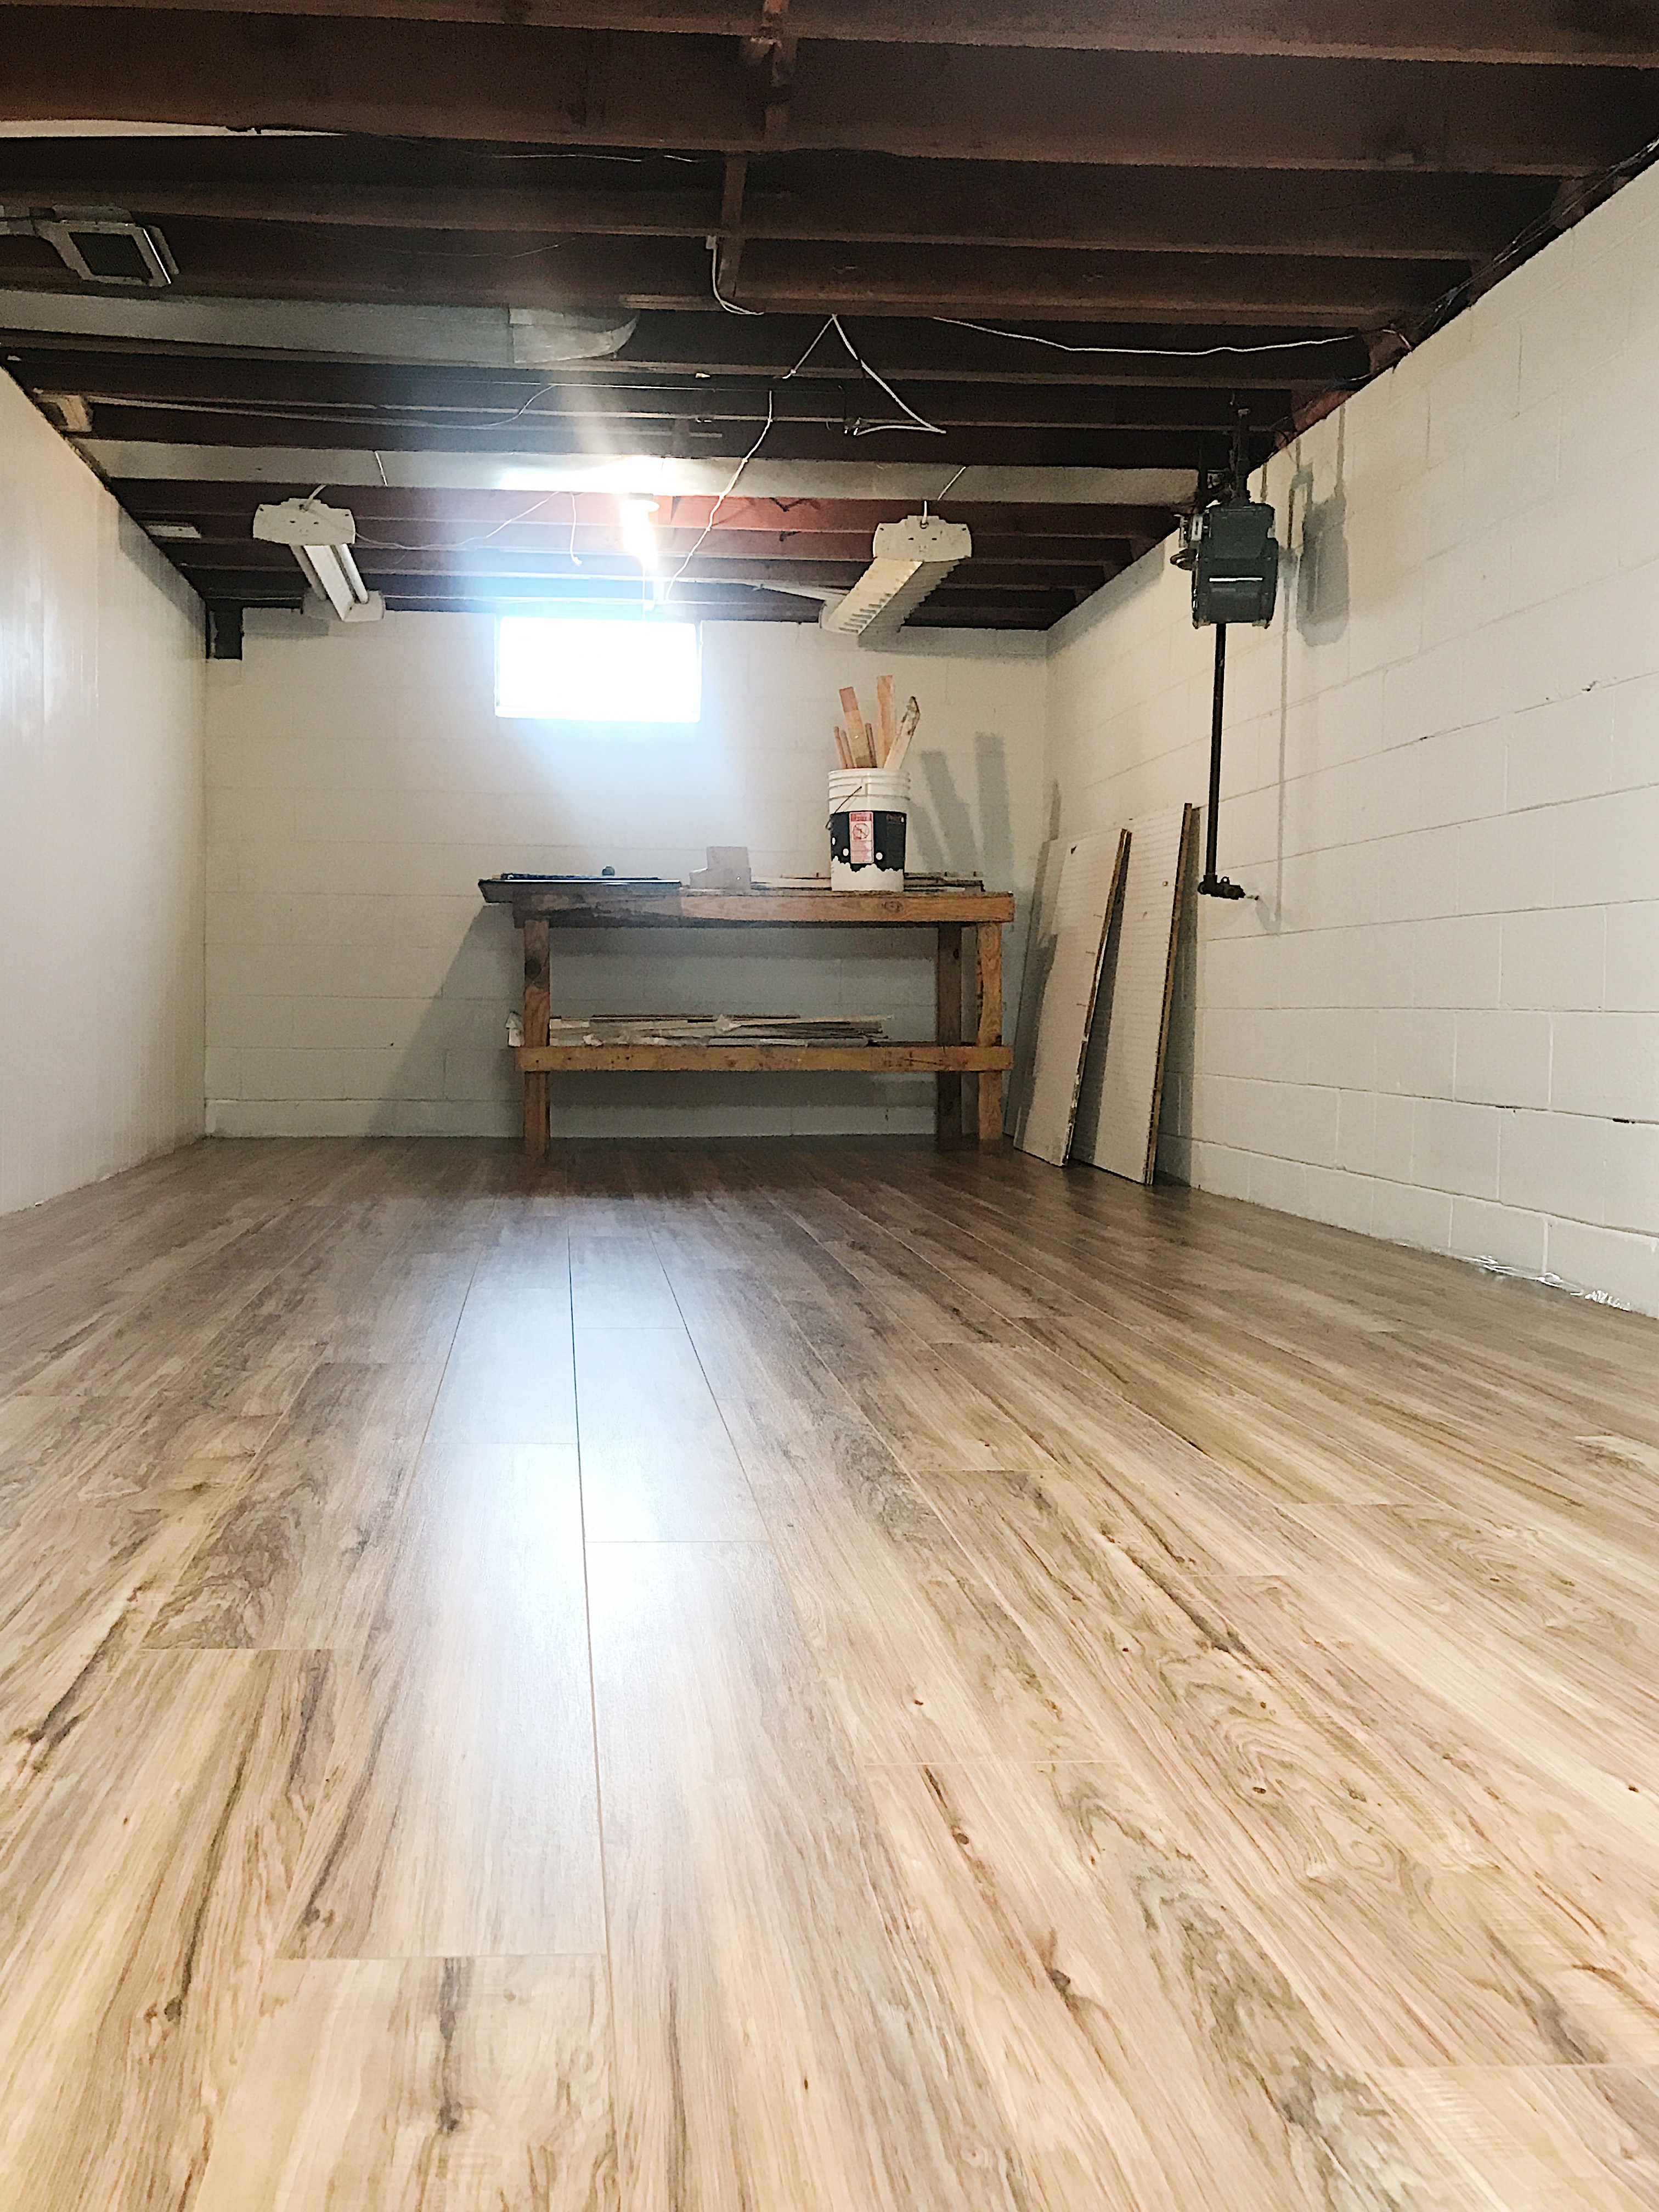
The floors were a process in the beginning. Not going to lie, in the beginning, we were about to quit, mostly because of user error but after the third row, we were cruising through.
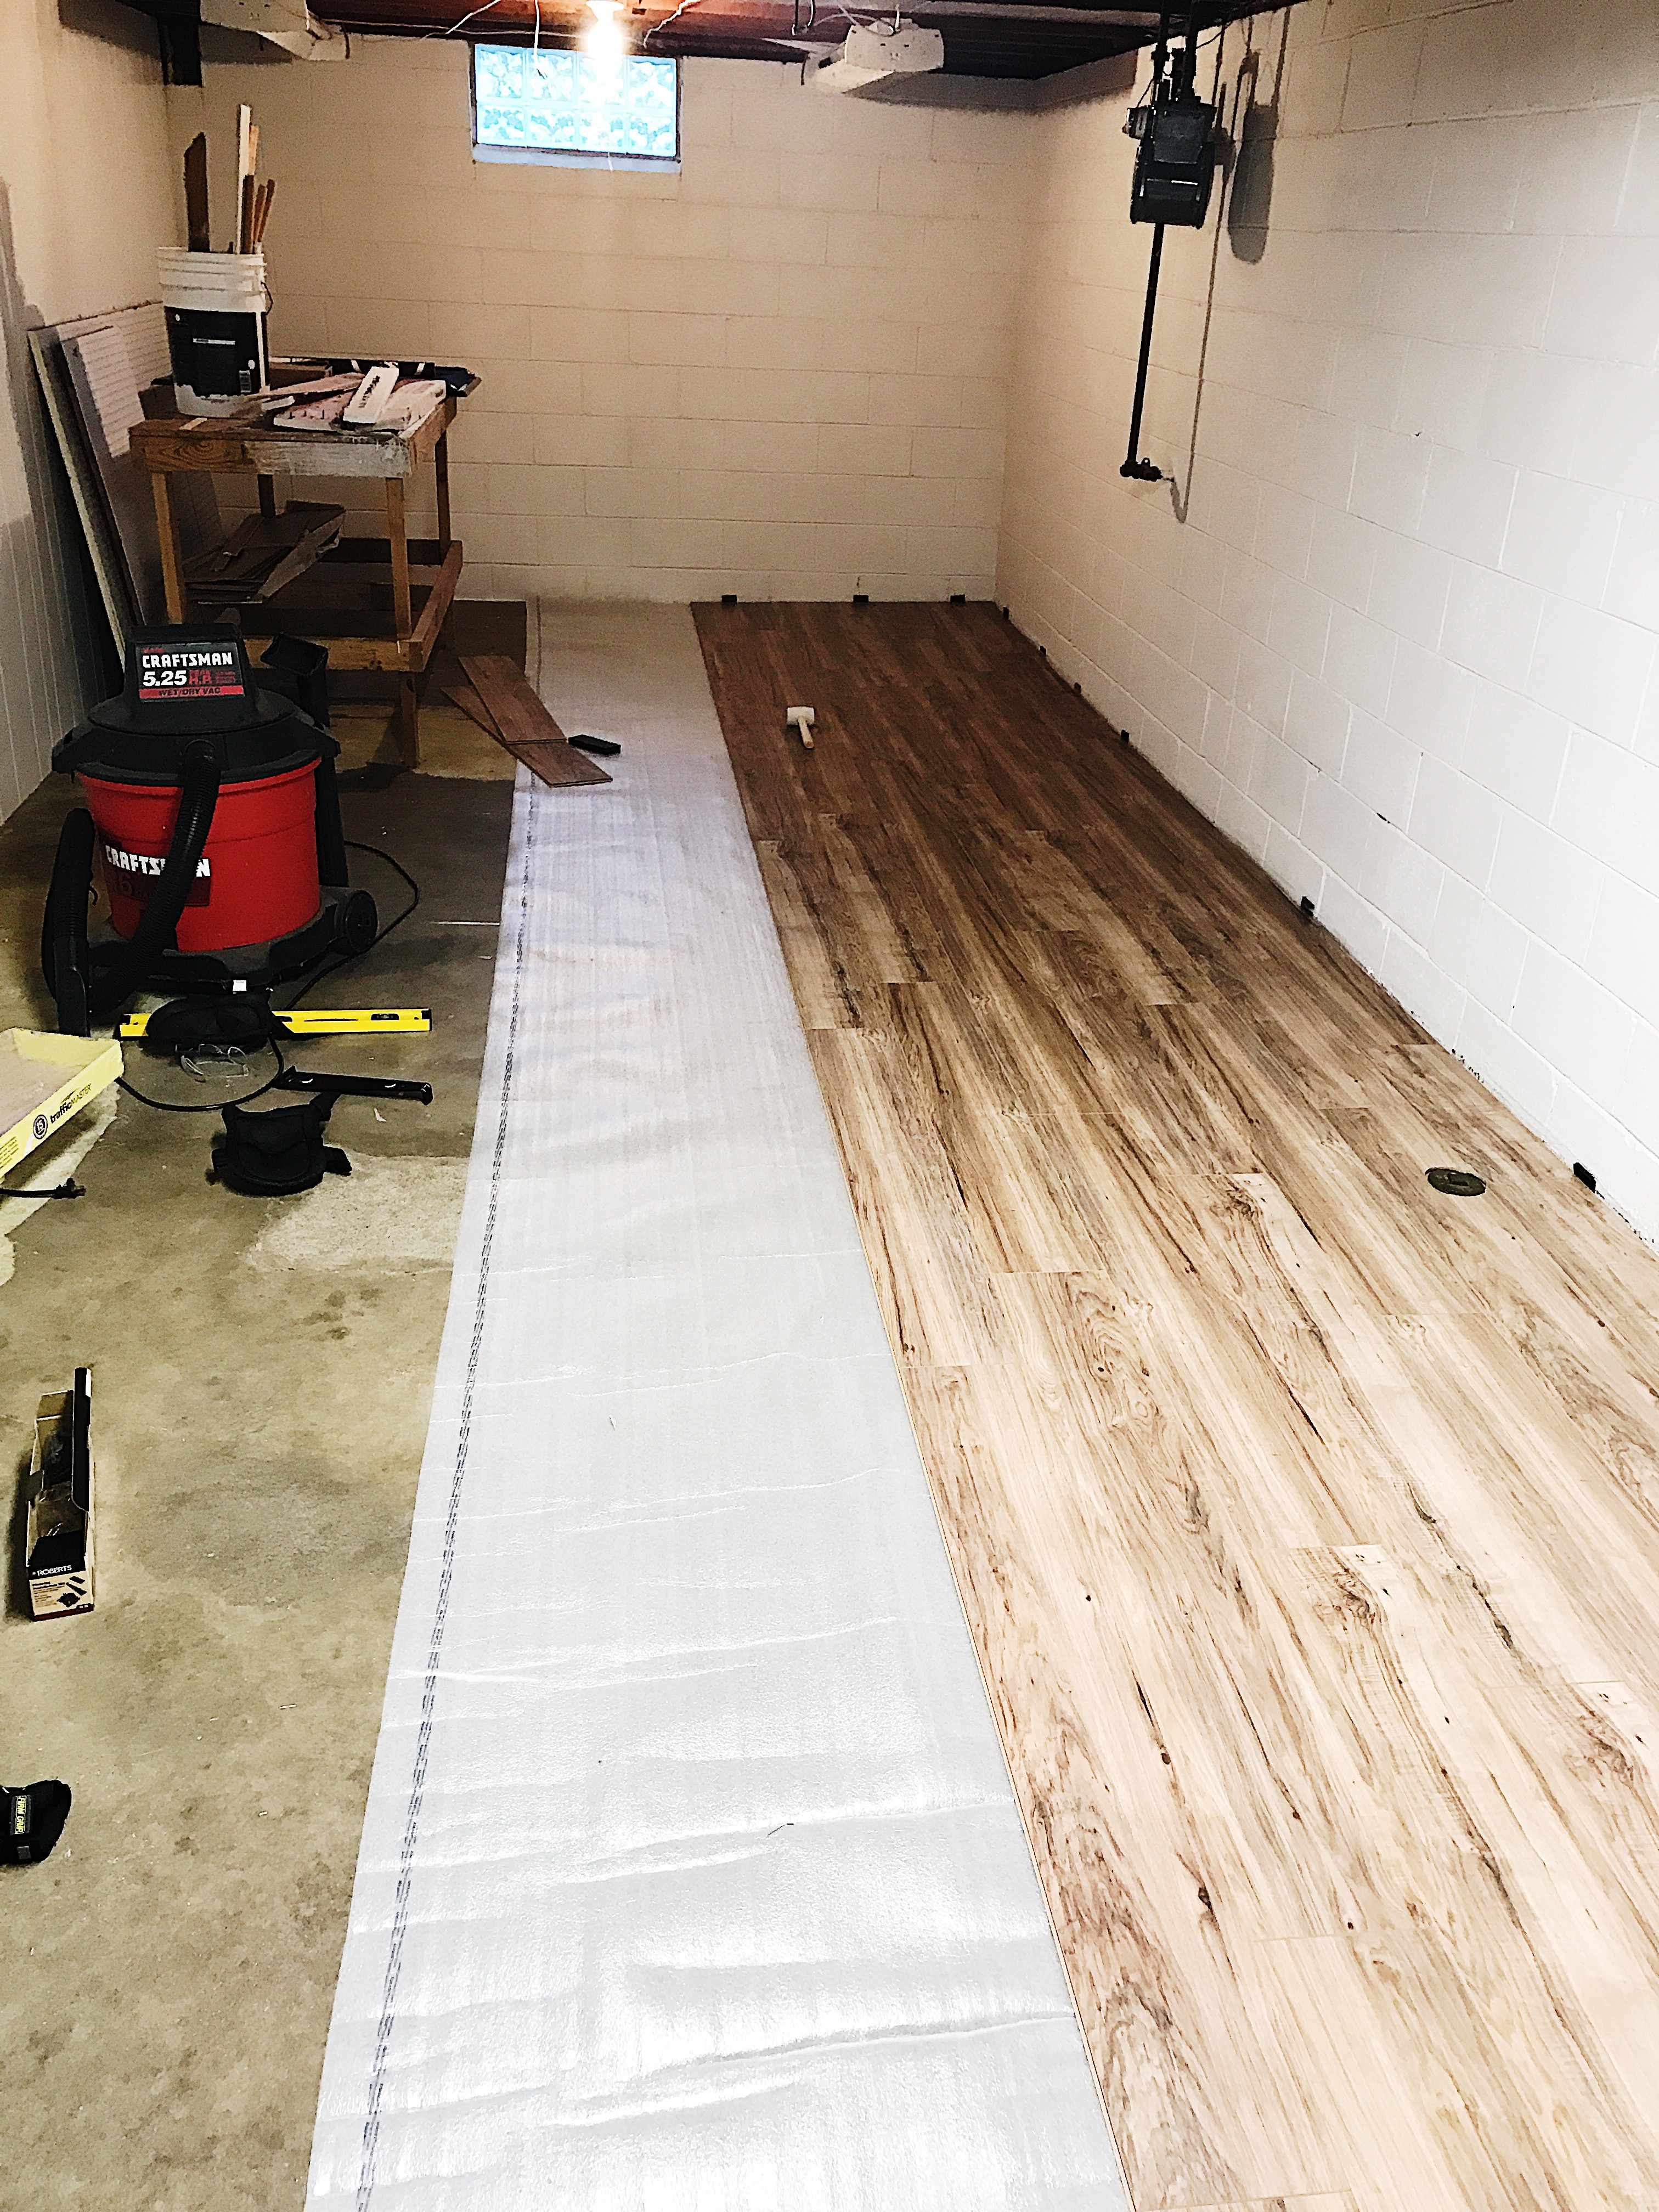
The items we needed and used were a jig saw, a rubber mallet, under layment, measuring tape, pencil, knee pads (just freaking use them), gloves, wood flooring installation kit, your flooring (We used the Lakeshore Pecan from Home Depot), 79c per square ft yea, SO cheap and it looks so so good and lastly probably an order out to five guys because by the end of it you better bet you’re not going to want to be cooking. So you’re welcome. But lastly, a good attitude, don’t forget that.
We also want to paint the entire ceiling white, below is a few inspo pics that we’re kind of going off of, I’d love to hear your guys’ input too!
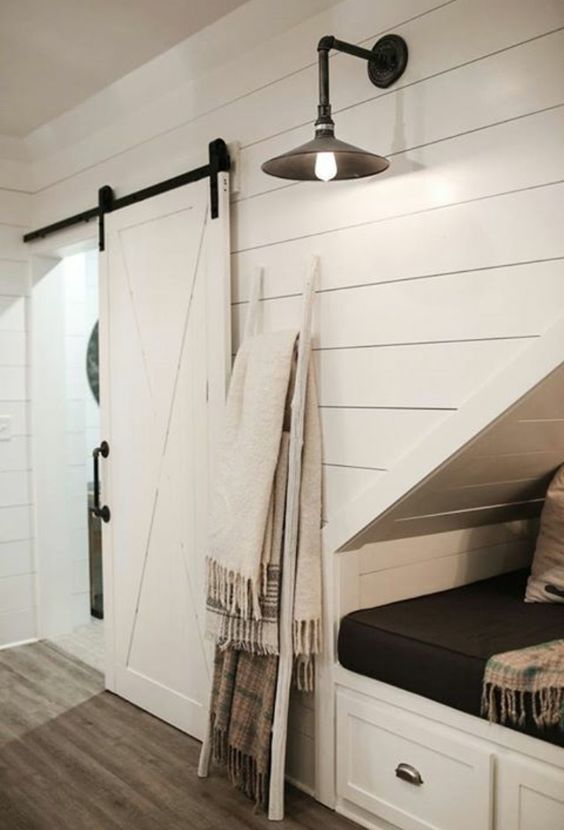
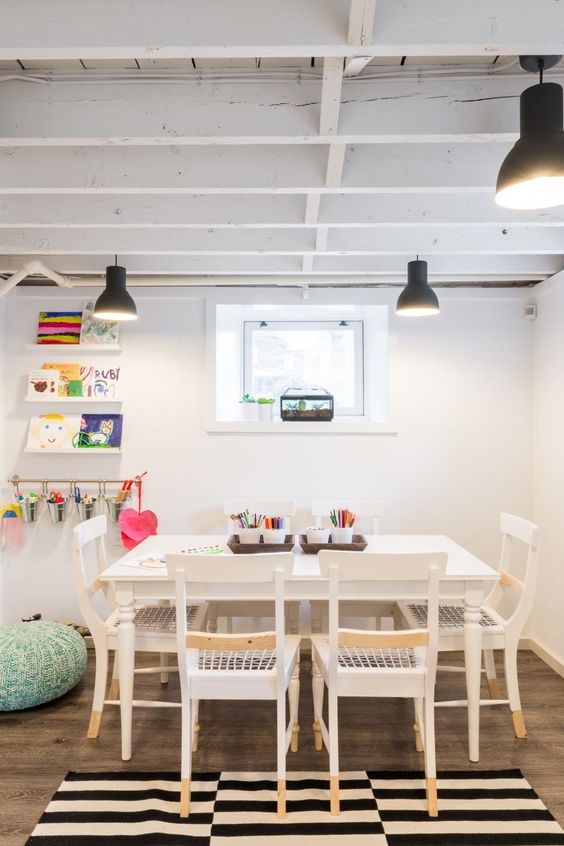
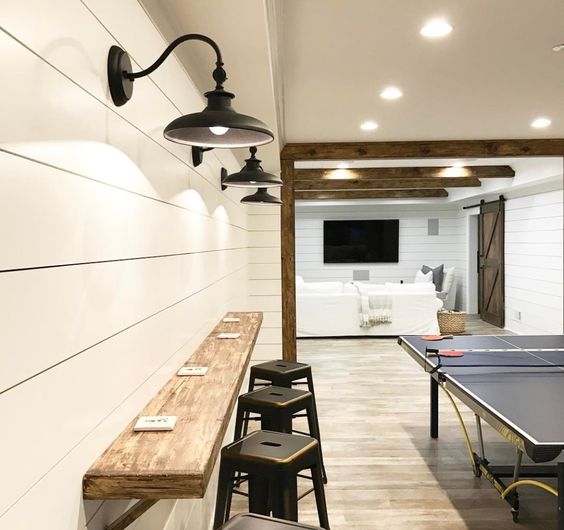
image 1 // image 2 // image 3
(I am leaving the first and last blank because I cannot find the original blog where this is from, if you know it please please please let me know so I can give proper credit to them.)
But overall guys the flooring is pretty simple. A few videos we watched were here, and here. Once you get through the first few it gets pretty simple.
That’s it for our flooring! It was so easy and pretty satisfying looking at it and thinking, wow we did that! Pretty proud! Like I said our next step is to put up that shiplap, so I’ll keep you guys posted on that. If you’re not yet, make sure you’re following me on my Instagram because on my insta story I usually share the whole DIY journey!
Happy Friday guys!